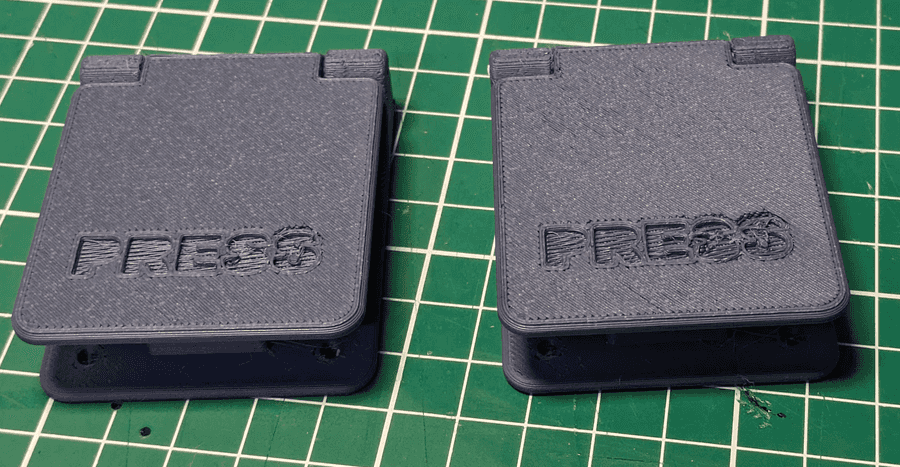
3D Printable Accessibility Switches
Based around a low-profile keyboard keyswitch this was pretty much the simplest, lowest-profile paddle I could construct in time for the conference, so they’re a bit rough around the edges (especially on the lettering, and stringing on the curved surfaces) as I had little time to fine tune the design or deal with recalibrating my slightly aging 3D printer.
The filament I used was also ‘whatever was loaded into the printer’, so you get what you get. I fully suspect a better 3D printer, or better filament, or just using a 3D printing service would yield far better results.
Assembly Details
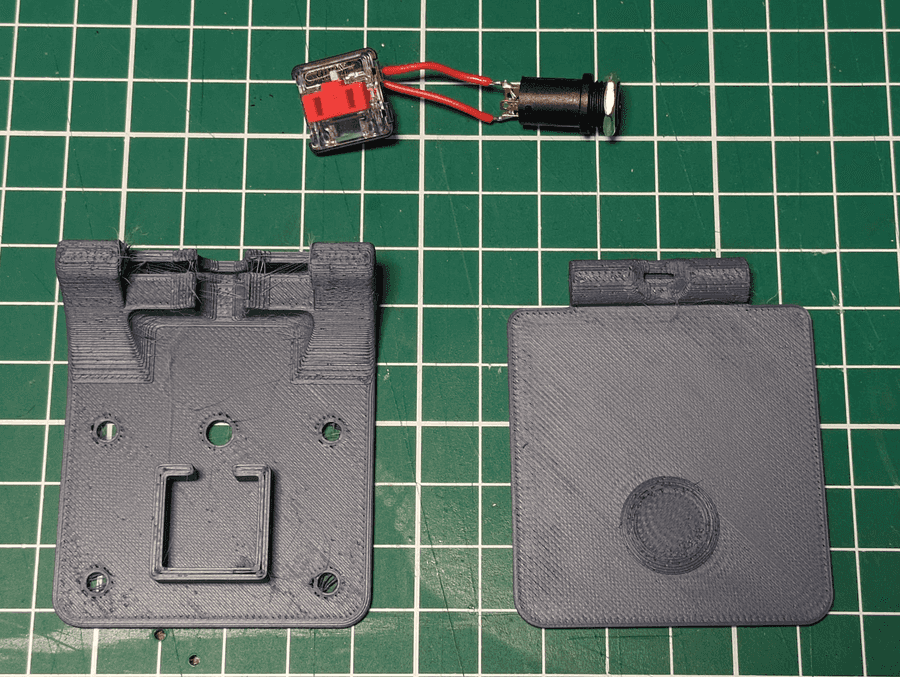
Step 0 - Parts and Soldering
Print the parts as many times as you need for however many switches you require.
-
3.5mm Stereo Jack Panel Mount Connector - Or equivalent
-
Kailh CHOC Low Profile Red Linear Key Switches - Or equivalent
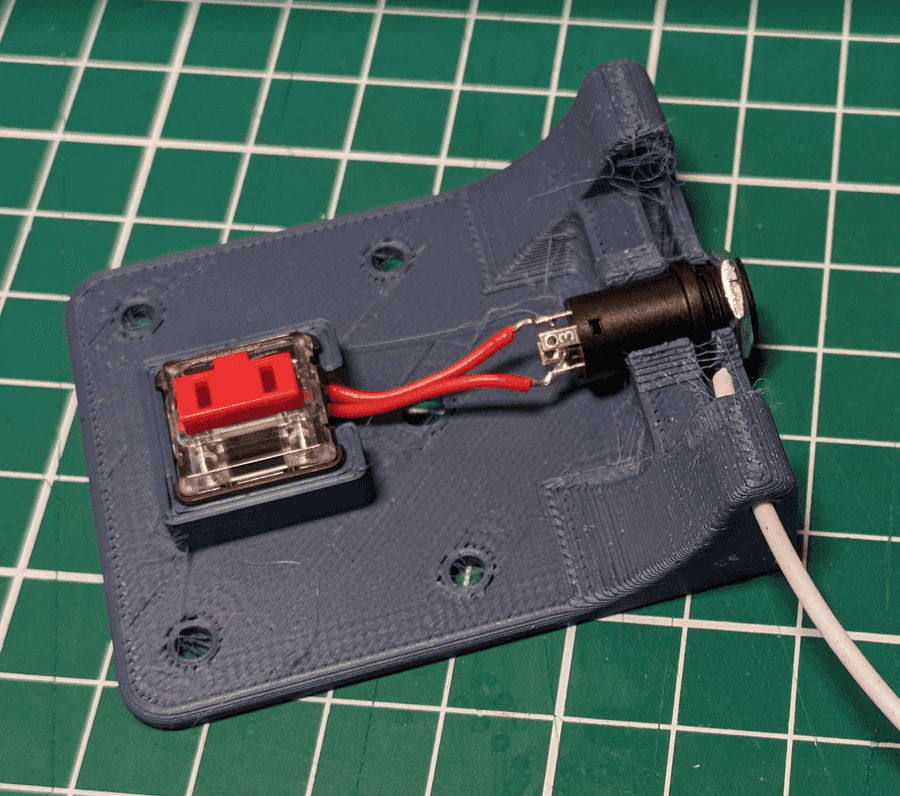
The wiring is trivial, but may require some trial-and-error if your equipment differs from mine. In my case the tip and sleeve of the 3.5mm jack are the critical pins, and bridging them with the switch is what I need, but if you have other connections, I suggest getting ahold of the TRRS sockets, connecting them up in isolation then bridging pairs of contacts until you find the pair that work for you. In my case, the pins I needed were pins 2 and 4.
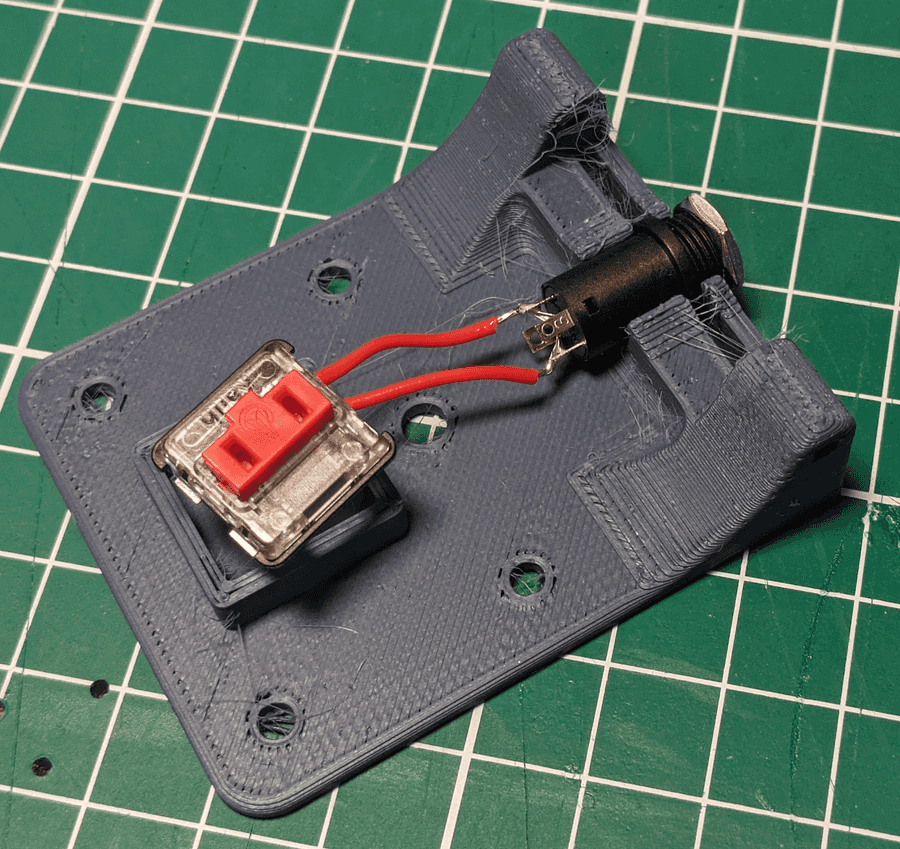
When soldering the switch and jack, keep in mind that you may not want much slack in the wires between the two, as this may interfere with the switch operation. To ensure I had the correct length, I used the base of the switch as both a template and a holder while soldering.
Step 1 - Attaching the TRRS Socket
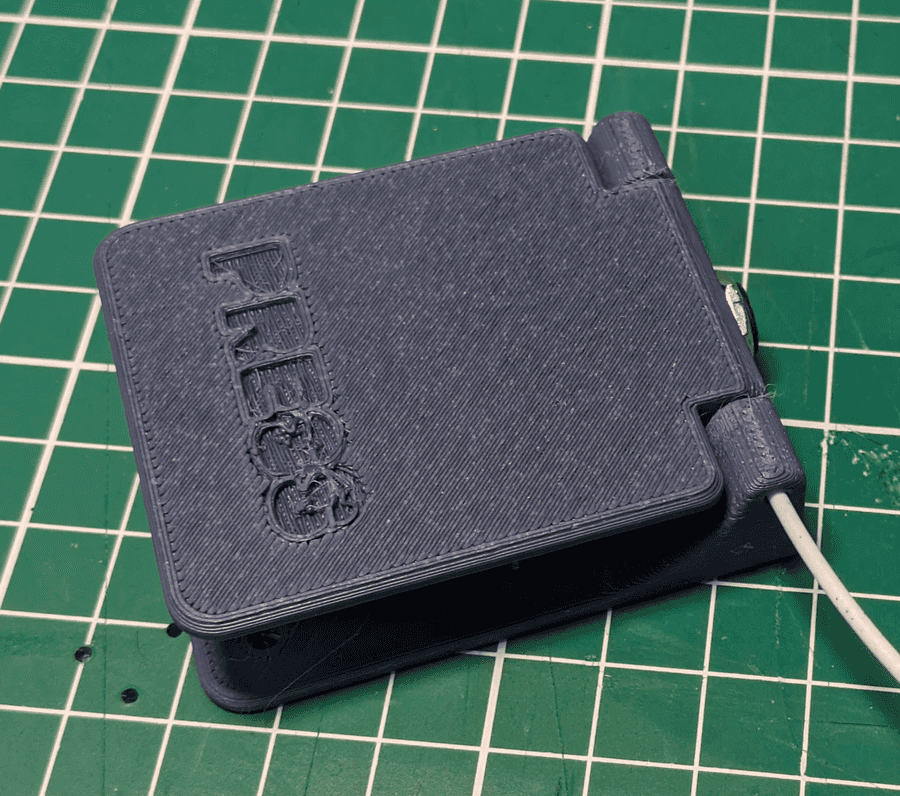
Unscrew the nut on the TRRS socket almost all the way off, then snap the socket into the back of the paddle base. The ring on the socket should fit neatly into the slot and hold it with a satisfying click.
Optionally screw the nut back down onto the socket to secure it, although in my testing no nut is actually needed, but I kept mine on for the aesthetics.
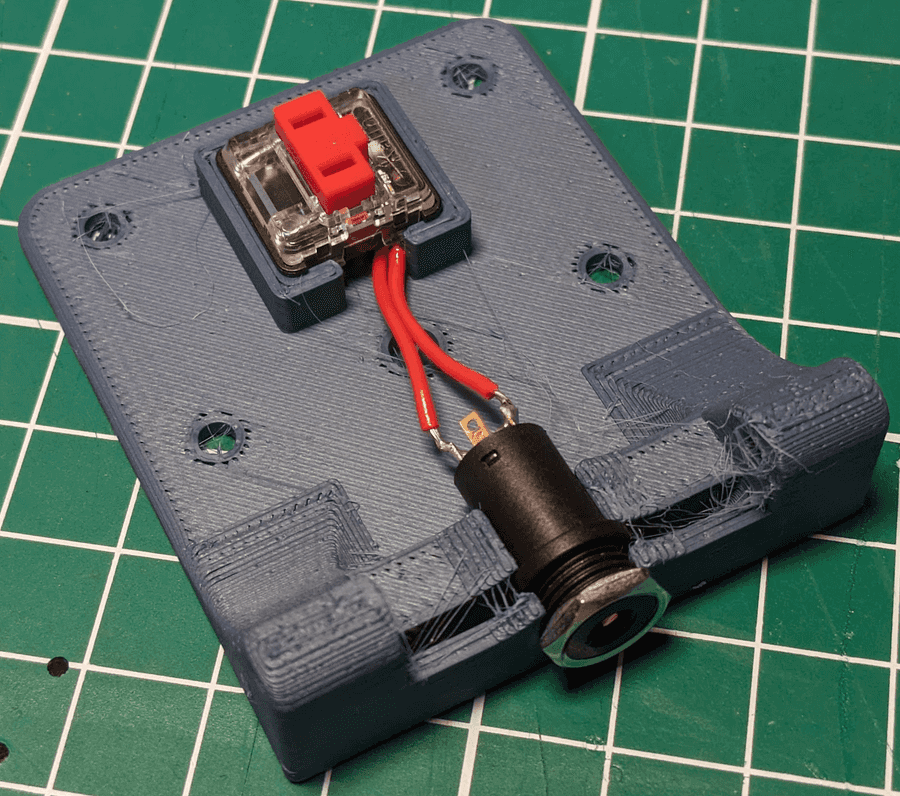
Step 2 - Attaching the Keyboard Switch
Slot the keyboard switch into the square mounting; it should fit just so such that the bottom half of the switch neatly slides into the mounting, but the upper section is held at the correct height.
When you do this, ensure that the two wires from the switch are routed around to the cutout without pinching them. They should fit neatly under the body of the switch.
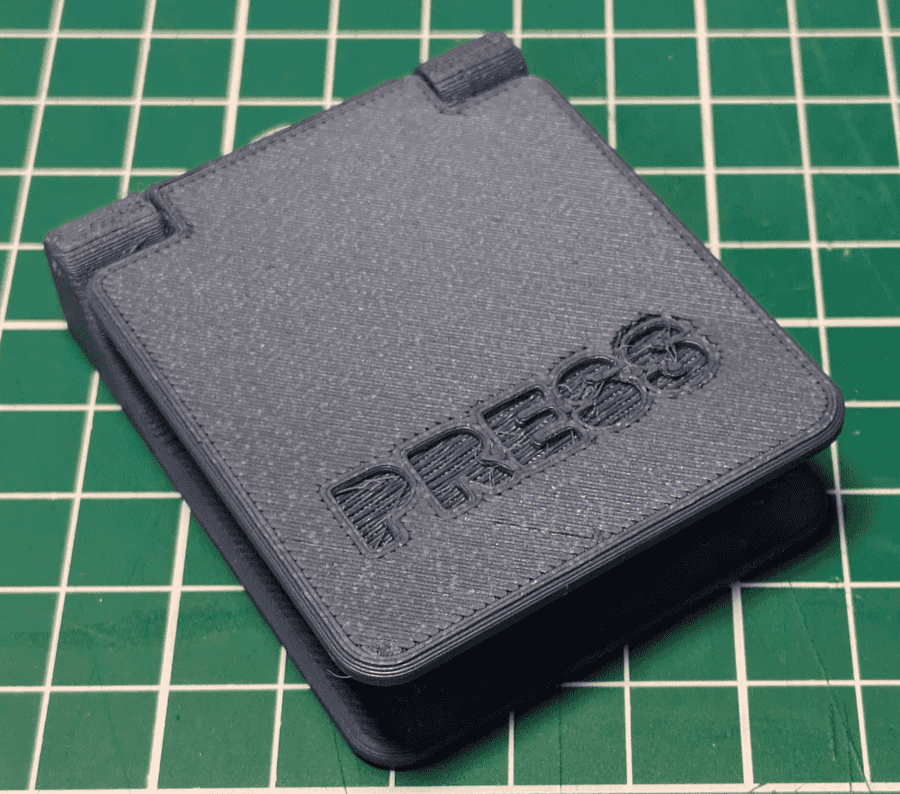
Step 3 - Attaching the Paddle
Take a length of printer filament (1.75mm diameter) and slide it into one of the holes in the hinges, then line the lid up with the protruding filament and push it all the way through the far hinge mounting.
If you encounter resistance, try spinning the filament around to align better - I found that letting the natural curve of the filament go upwards was the best way, as it tended to guide through the center open section of the hinge.
Step 5 - Trim and Use!
Cut off any excess filament with some edge-cutters, optionally adding a dot of glue to one or both ends of the hinge to secure it, although I personally found that the curve of the filament and the minimal actual rotation when using the paddle meant that this was not required.

Comments
Join the discussion this post on Mastodon
Comments and content are copyright their authors below.
(Comments are updated when the site rebuilds, so may take up to 24 hours to appear!)